%20(500%20x%20162%20px)(1).png)
Server Certificate Profiles (TLS Sample)
Introduction
EJBCA Profiles, Creating certificate & end-entity profiles
Slide Deck: EJBCA Profiles
Overview: The TLSServerCertificate is very similar to the TLSClientCertificate, except this certificate will be created with server authentication, instead of client authentication. A certificate created with these options, is able to authenticate to another server. This type of certificate will be used later in the training.
Slide Reference
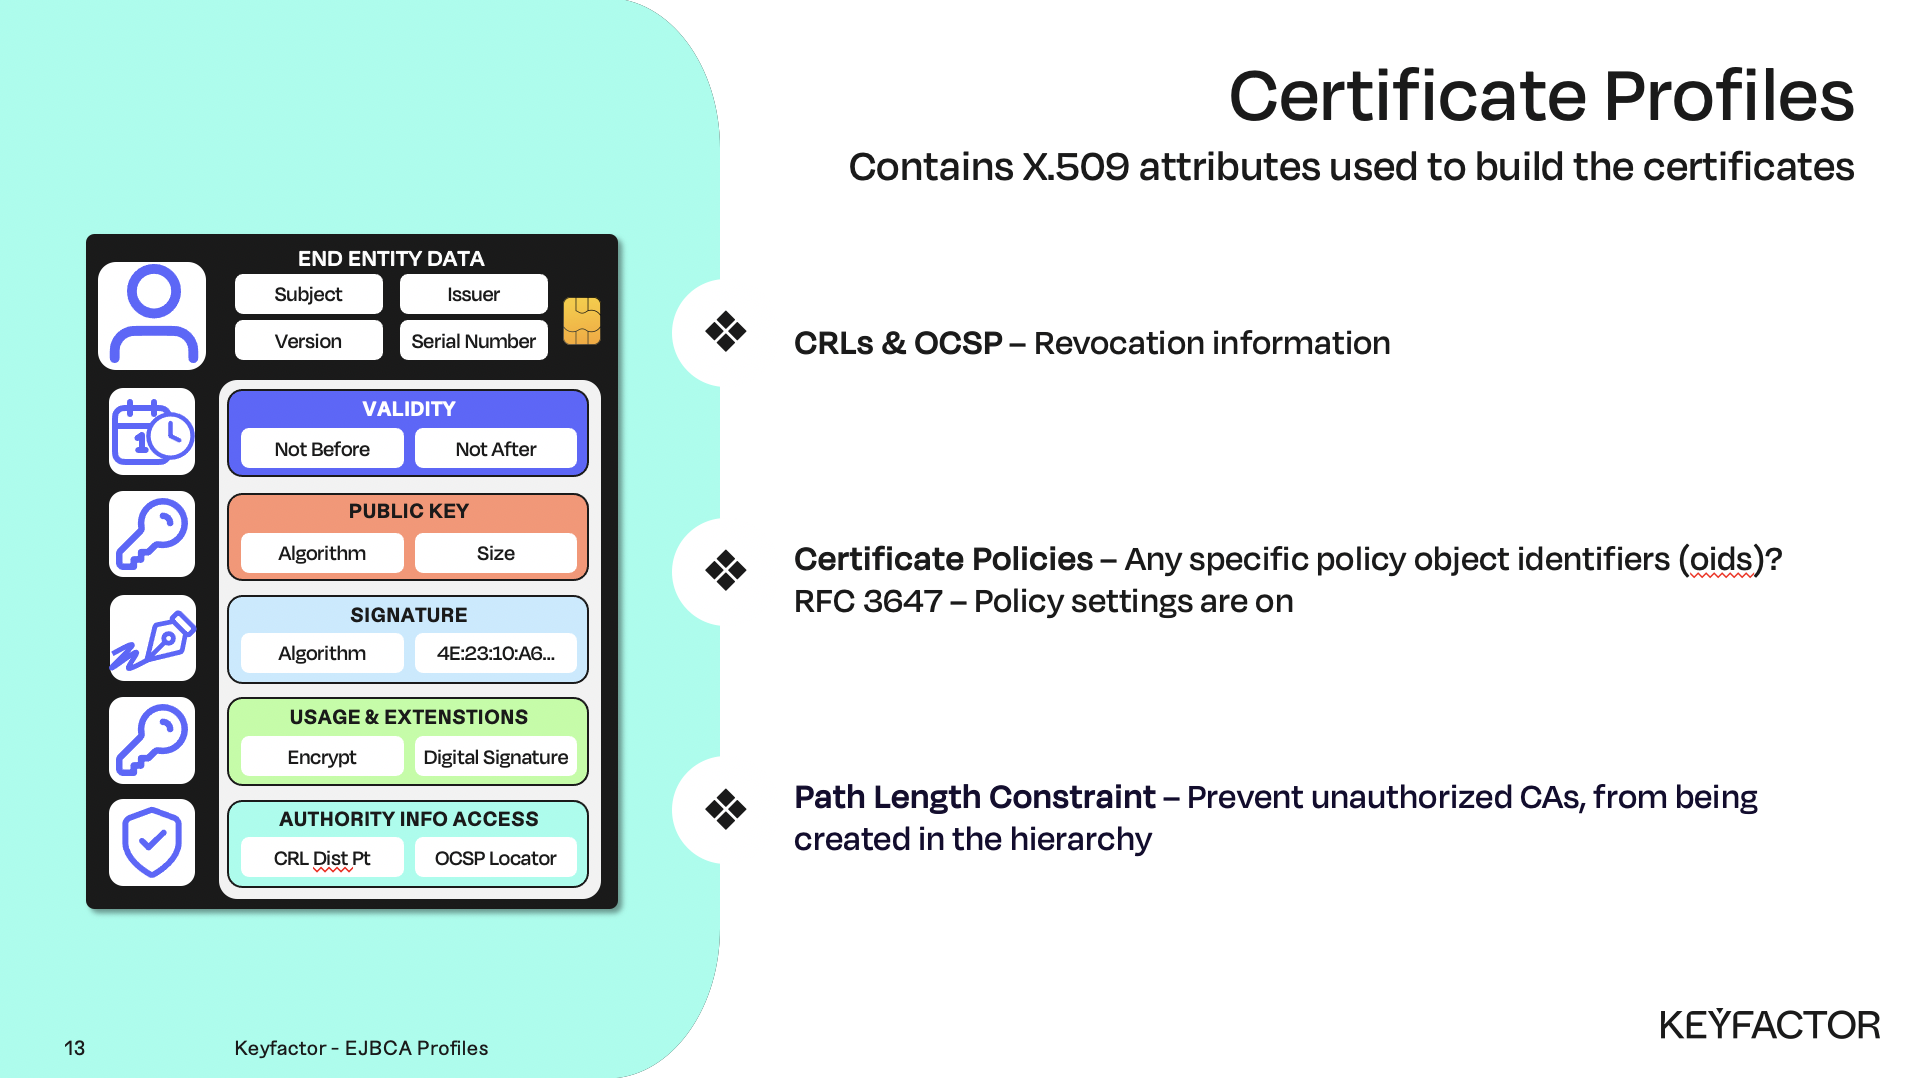
Certificate profile properties
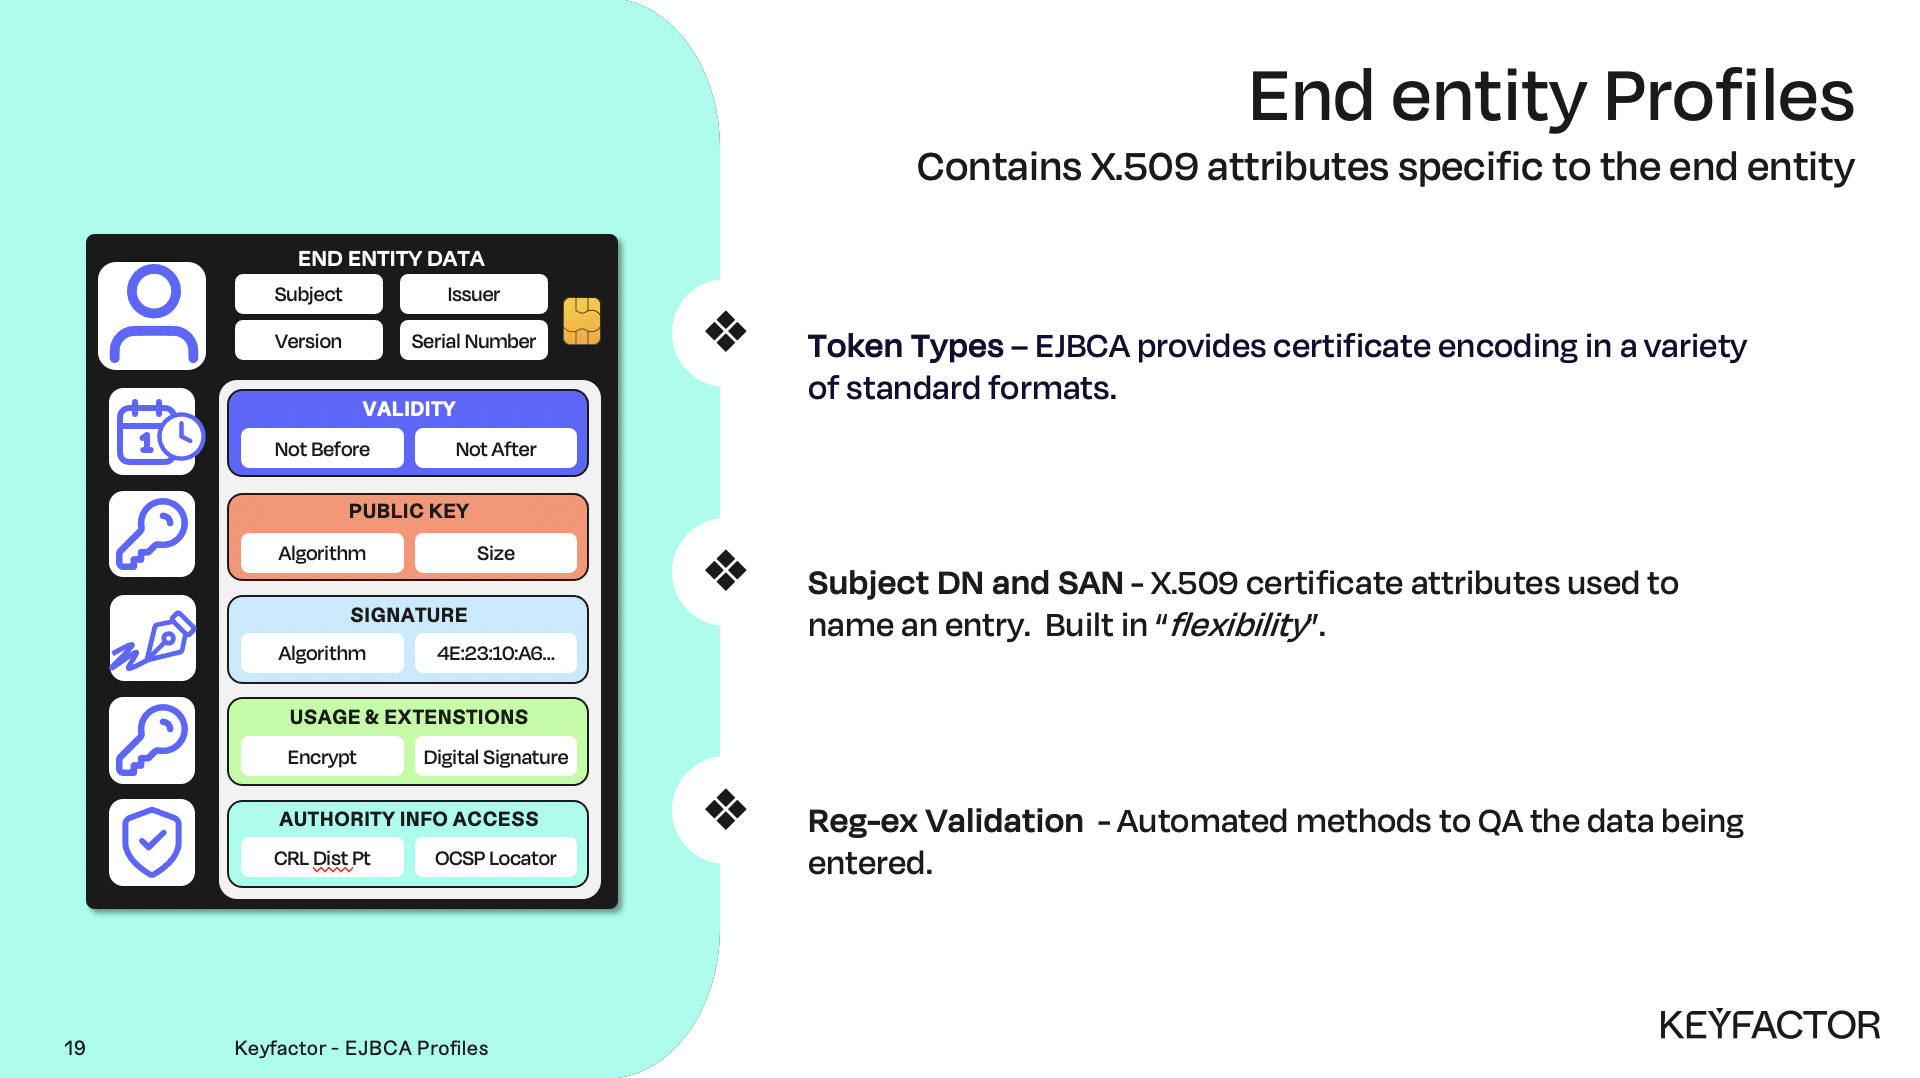
End entity profile properties
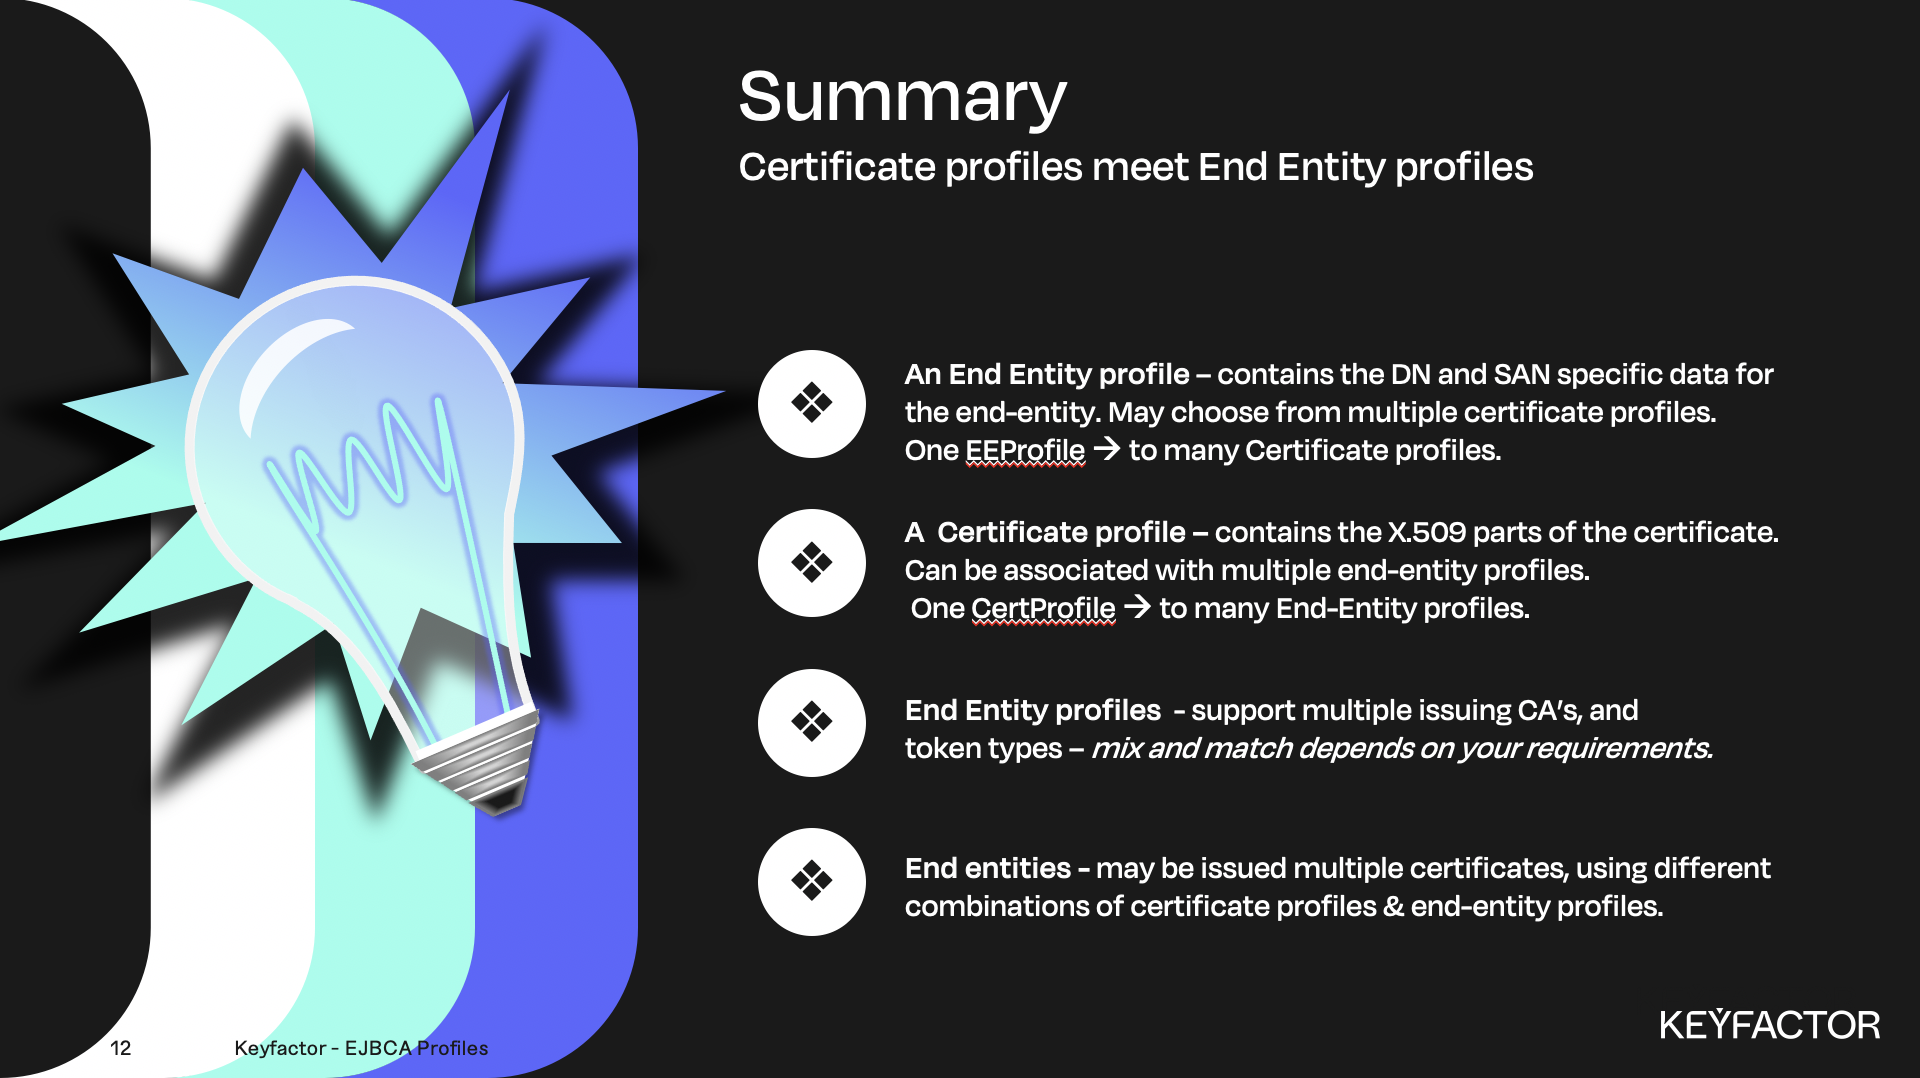
Both profiles are needed to issue a certificate
Reminder you can visit the Accessing Your Environment page for details on how to connect to your Admin web portal
Creating a Certificate Profile for TLS Server Certificates
Open a browser and access your Admin Web Portal
Click CA Functions >> Certificate Profiles
On SERVER click Clone
Enter TLSServerCertificateProfile and click Create from template
Click Edit on the profile TLSServerCertificateProfile
In the Available key algorithms list, select RSA
In the Available bit lengths list, select 2048 bits
In the Signature Algorithm list, select SHA256WithRSA
In the Validity field, enter 2y
For Key Usage make sure that Digital Signature and Key Encipherment are selected
For Extended Key Usage make sure Server Authentication is selected
In the Available CAs list, select Sub CA and ManagementCA
Click Save
Creating an End Entity Profile for TLS Server Certificates
Open a browser and access your Admin Web Portal
Click RA Functions >> End Entity Profiles
In the Add End Entity Profile field, enter TLSServerEndEntityProfile and click Add Profile
Select TLSServerEndEntityProfile and click Edit End Entity Profile
For End Entity E-mail deselect the check box
In the Subject DN Attributes list, select O, Organization and click Add
In the O, Organization field
Enter the text PrimeKey Solutions AB
Select Required
Deselect Modifiable
In the Subject DN Attributes list, select C, Country (ISO 3166) and click Add
In the C, Country (ISO 3166) field
Enter the text SE
Select Required
Deselect Modifiable
In the Subject Alternative Name list, select DNS Name and click Add
In the DNS Name field
Make sure that Required is deselected
Make sure that Modifiable is selected
In the Default Certificate Profile list, select TLSServerCertificateProfile
In the Available Certificate Profiles list, select TLSServerCertificateProfile
In the Default CA list, select Sub CA
In the Available CAs list, select Sub CA and ManagementCA
In the Default Token list, select P12 file
In the Available Tokens list, select P12 file, JKS file and PEM file
Click Save