%20(500%20x%20162%20px)(1).png)
Services
Introduction
EJBCA Services
Slide Deck: EJBCA Services
Overview: EJBCA Services is a another powerful tool that allows your environment to schedule functionality that will be executed on a timely basis. For example, instead of manually ”downloading a CRL”, you may wish to create a service that would ”auto-magically” handle that task in the background and run at a specified time each day. In this lab four EJBCA services will be configured:
CRL Downloader - this service will download a CRL periodically at a specified interval.
Publish Queue process - this service will sweep any entries sitting in the publisher Q tables, to the external data source.
HSM Keep Alive - this service will ensure the HSM is available.
Remote Internal key updater- this service will update OCSP keys that are about to expire on a remote VA instance.
Slide Reference

Certificate Revocation List (CRL) Updater Service
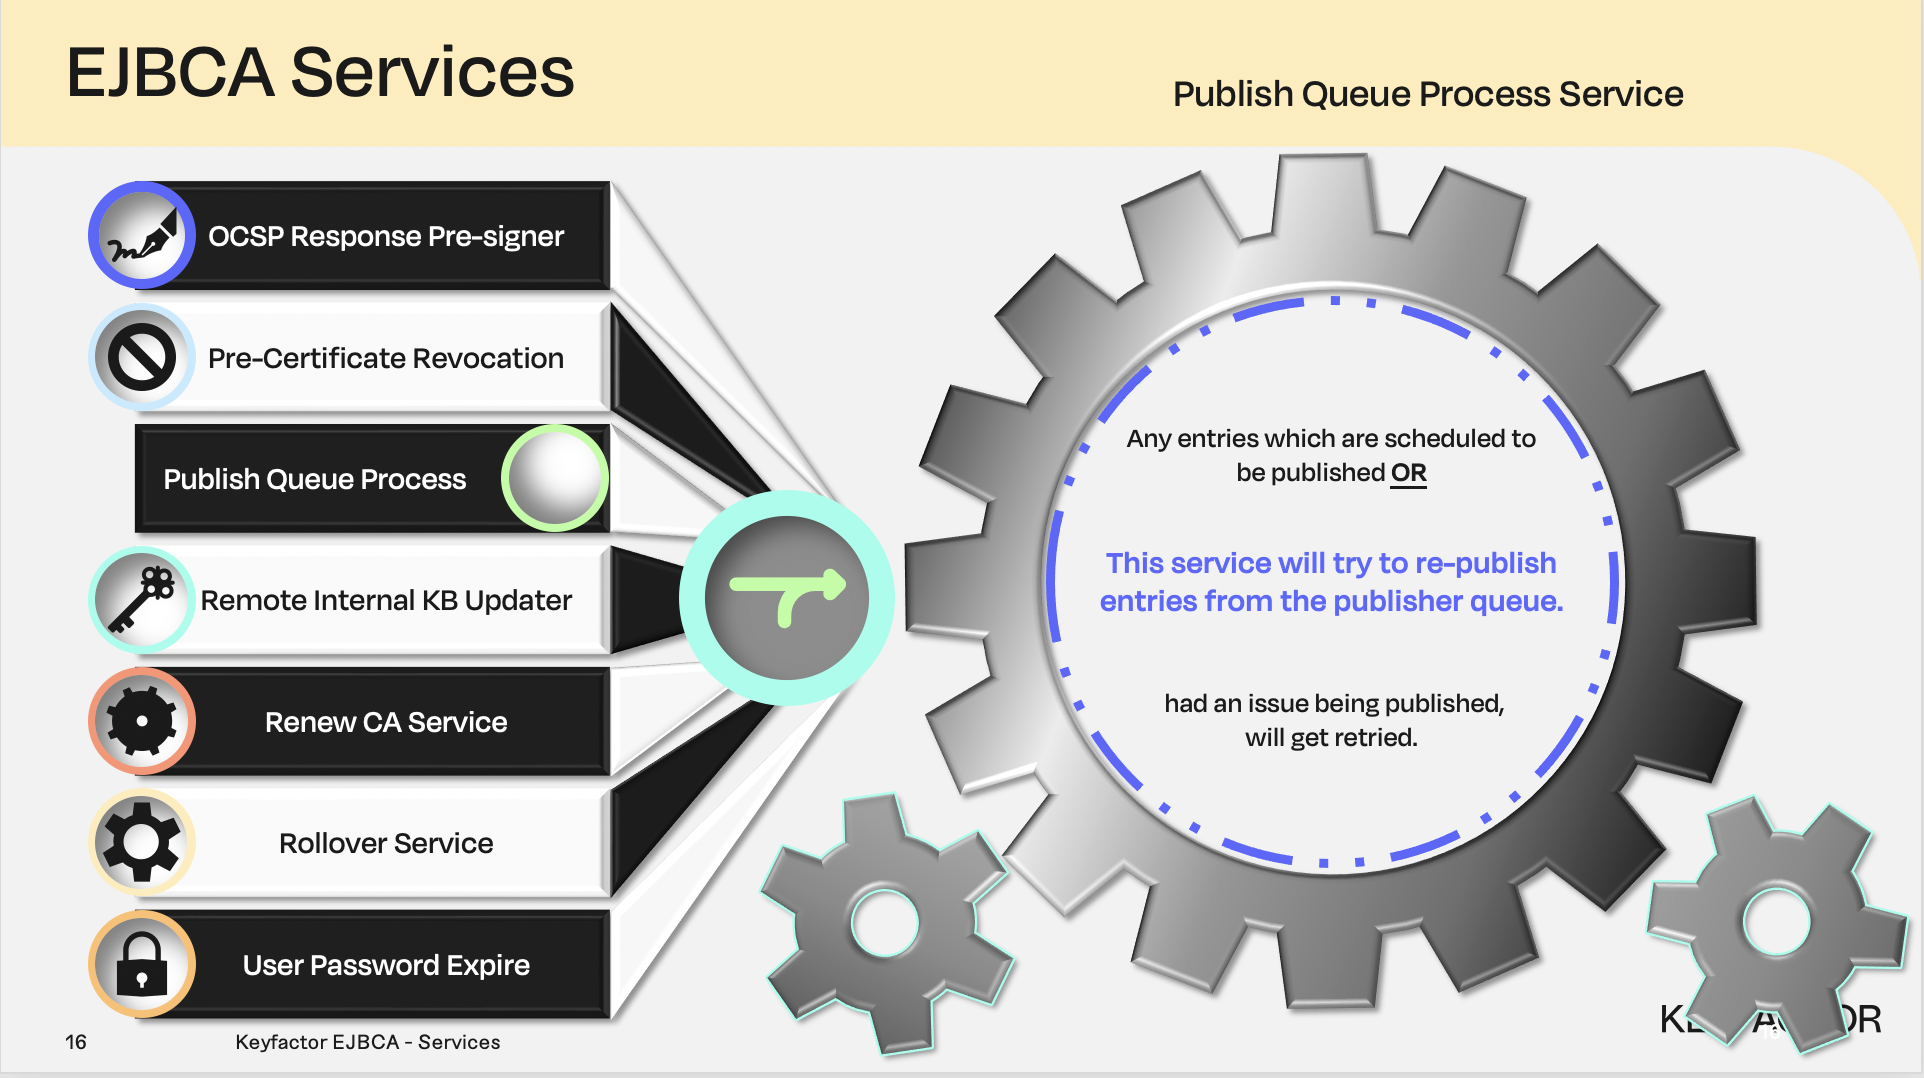
Publish queue process service, used in conjunction with a publisher
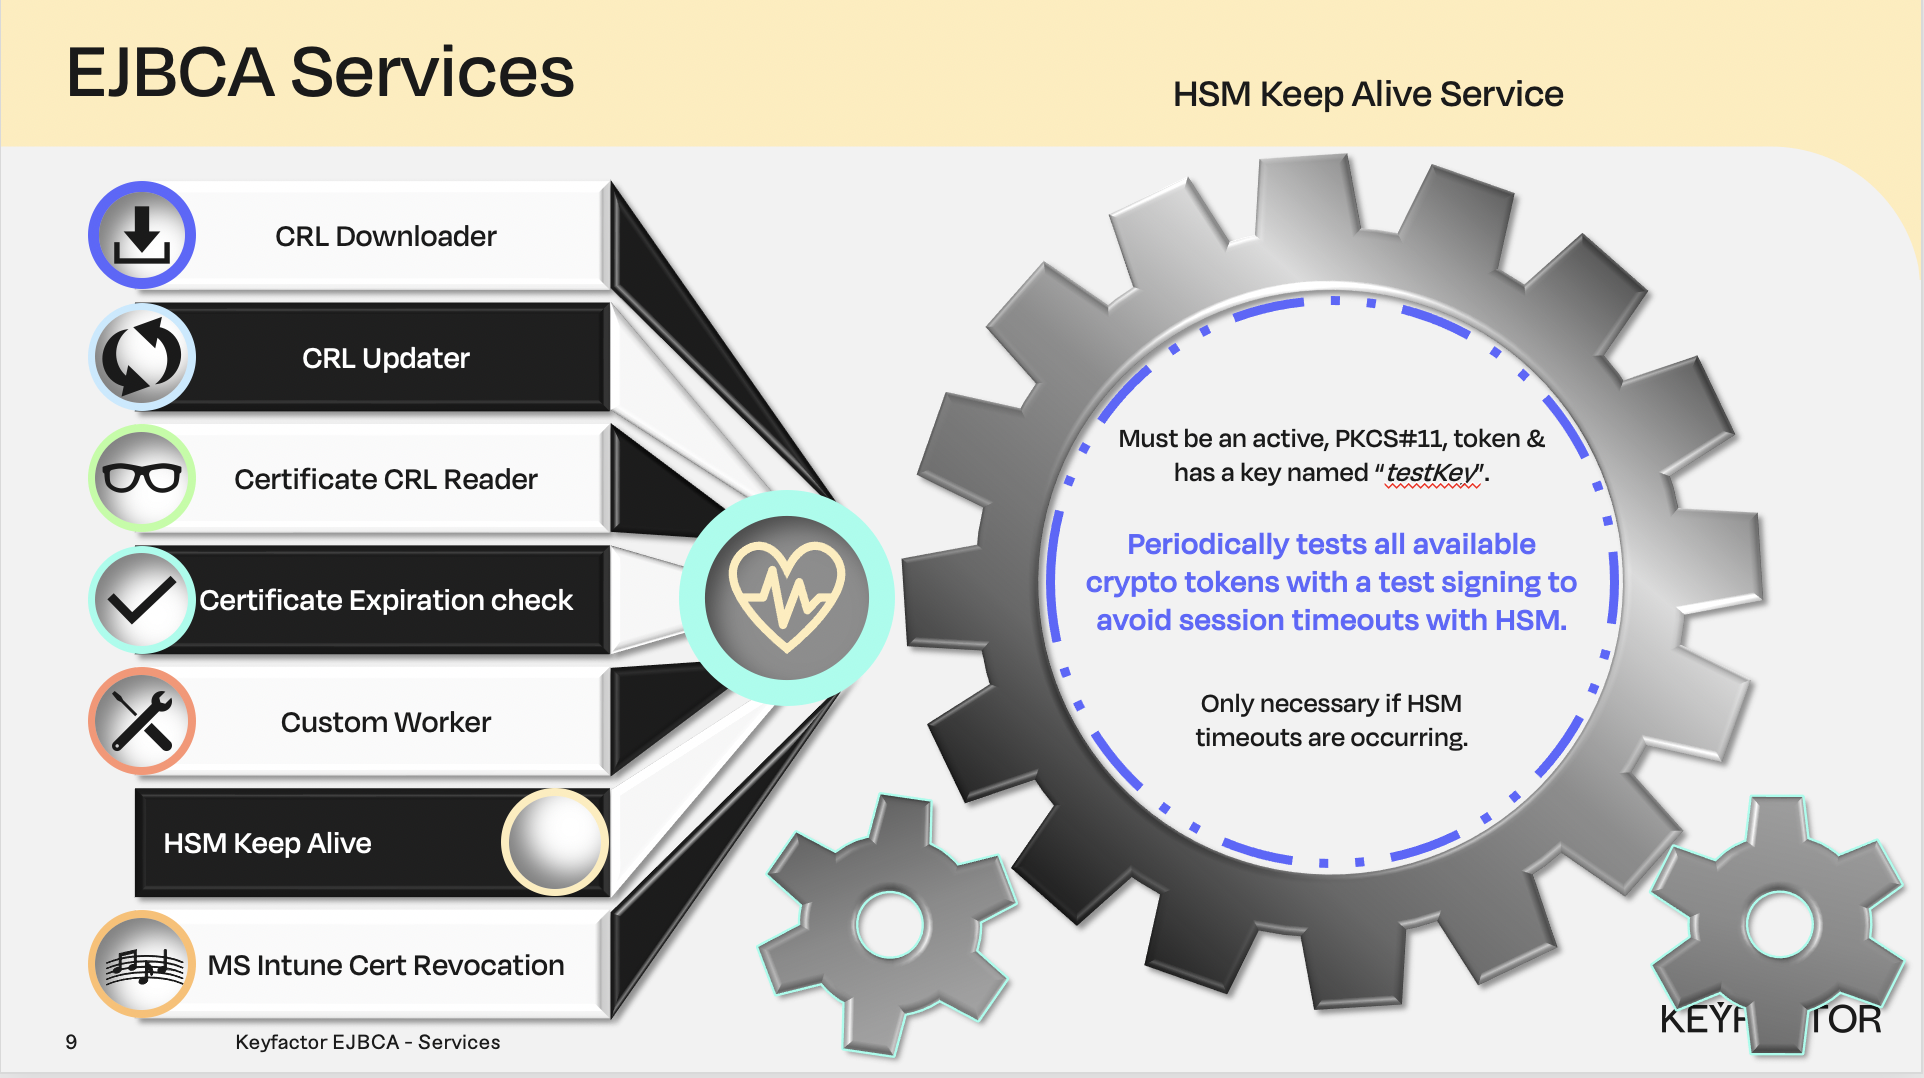
Hardware Security Module (HSM) service
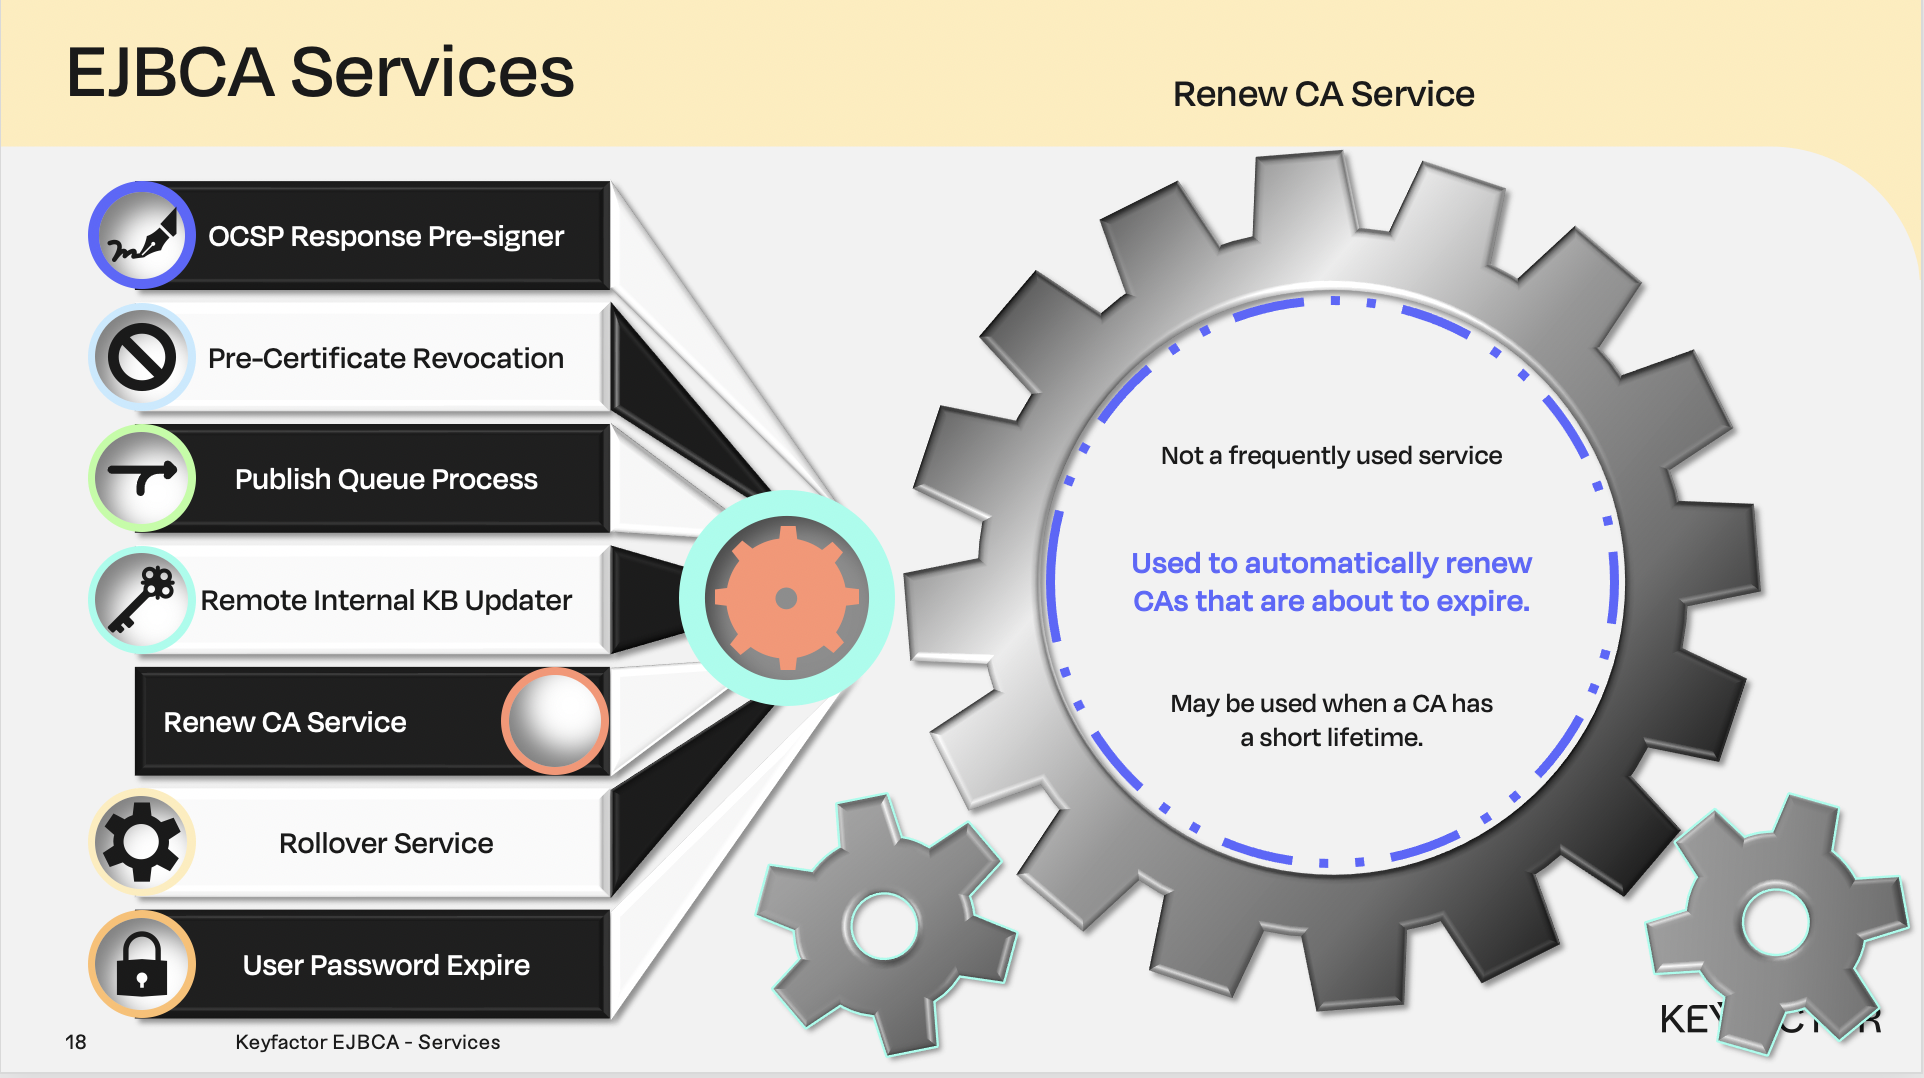
Renew Certificate Authority (CA) service
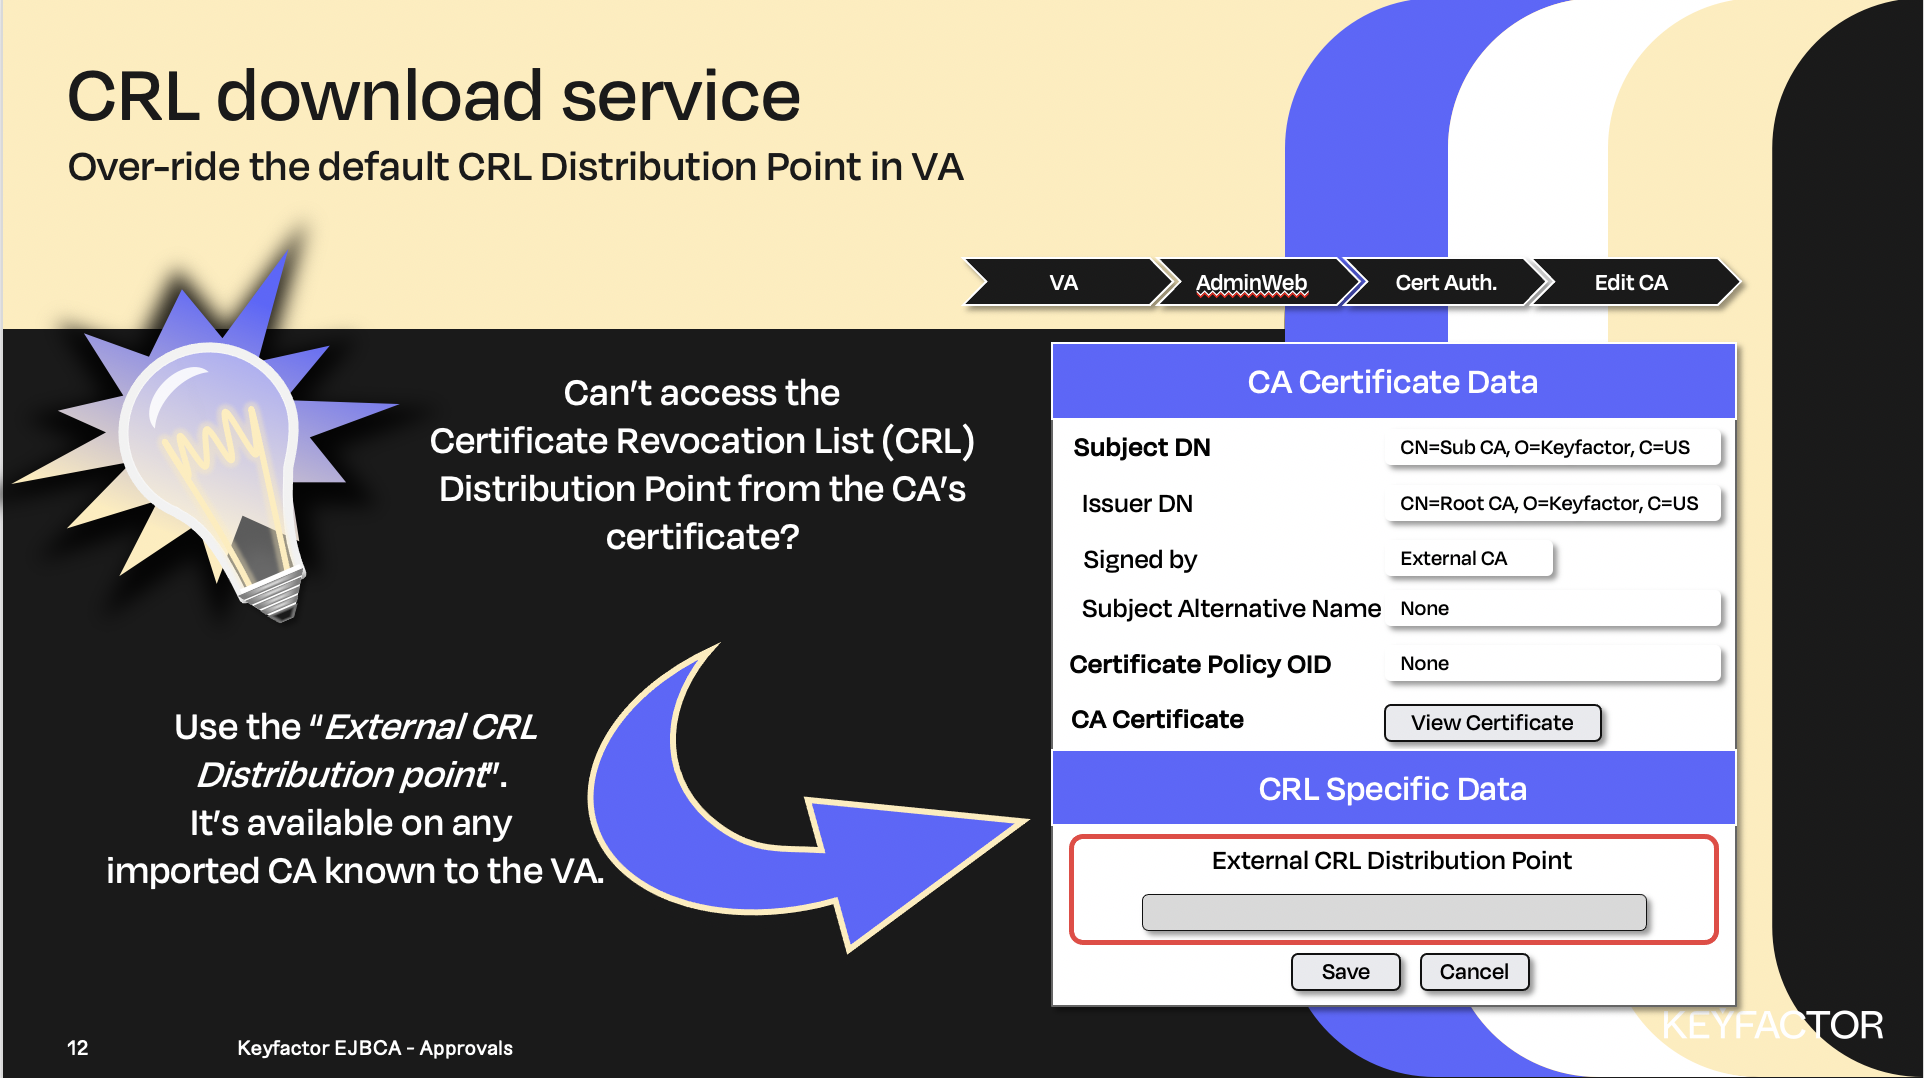
Can’t access the CRL Distribution Point, use an alternate location
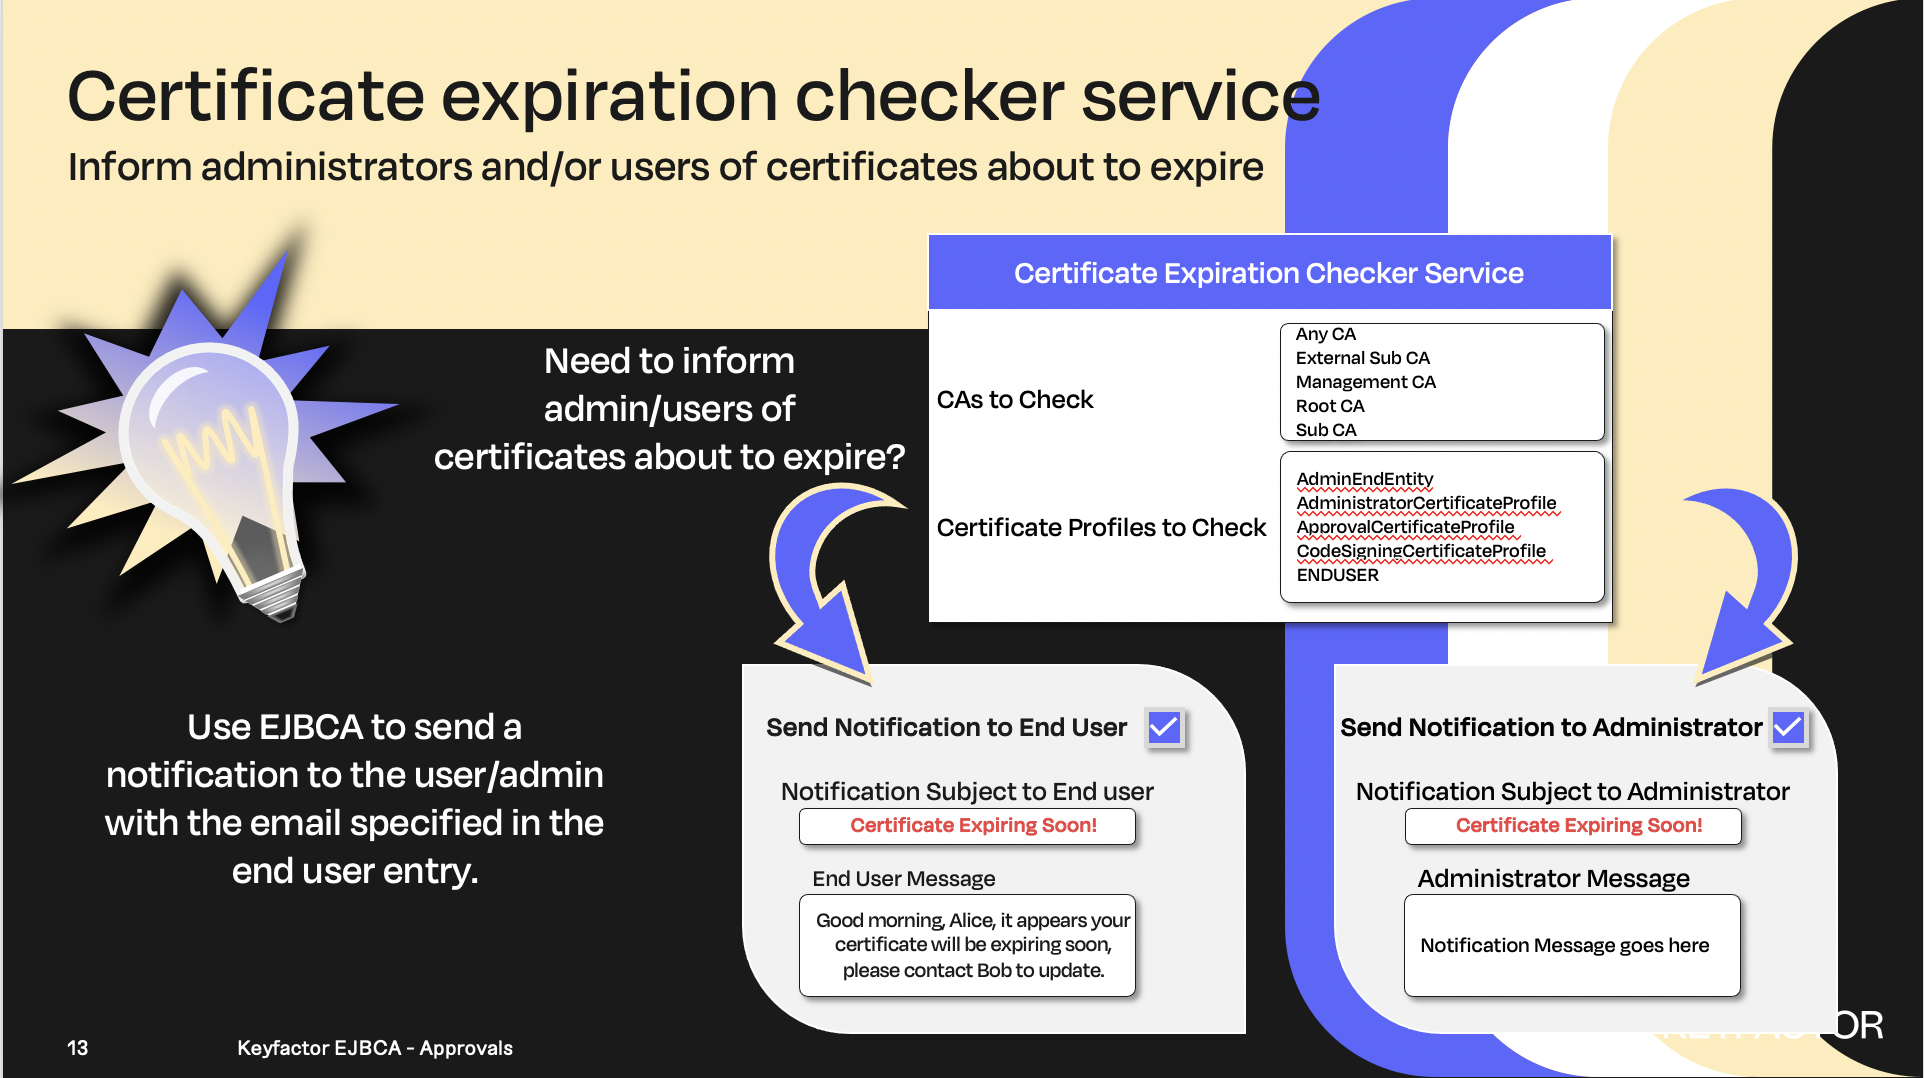
Notify users and/or administrators when certificates are expiring

Reminder you can visit the Accessing Your Environment page for details on how to connect to your Admin web portal
CRL Updater
Open a browser and access your Admin Web Portal on your CA instance
Click System Functions >> Services
In the Add Service field, enter CRL Updater
Click Add
In the List of Services list, select CRL Updater and click Edit Service
In the Select Worker list, select CRL Updater
In the CAs to Check list, select Management and Sub CAs.
In the Period field, enter 3 and select minutes from the list
To enable the service place a checkmark in the box labeled Active
Click Save
Publisher Queue
Open a browser and access your Admin Web Portal on your CA instance
Click System Functions >> Services
In the Add Service field, enter Publisher Queue
Click Add
In the List of Service list, select Publisher Queue and click Edit Service
In the Select Worker list, select Publish Queue Process Service
In the Publishers to check list, select LDAP Publisher and VA Publisher
In the Period field, enter 1 and select minutes from the list
To enable the service place a checkmark in the box labeled Active
Click Save
HSM Keepalive
Open a browser and access your Admin Web Portal on your CA instance
Click System Functions >> Services
In the Add Service field, enter HSM Keepalive
Click Add
In the List of Service list, select HSM Keepalive and click Edit Service
In the Select Worker list, select HSM Keepalive Service
In the Period field, enter 5 and select minutes from the list
To enable the service place a checkmark in the box labeled Active
Check the box labeled Run all on all Nodes
Click Save

Remote Internal Key Binding Updater
In order to be able to use remote internal key binding updater some access rules have to be changed on the VA
Reminder you can visit the Accessing Your Environment page for details on how to connect to your Admin web portal
Open a browser and access your Admin Web Portal on your VA instance
Click System Functions >> Peer Systems
For the peer-connector, click Modify role
In the CAs section, make sure Access 'Sub CA' is selected
In the Internal Key Bindings section, select the radio button Renew certificate for the SubCA
In the Crypto Tokens section, check the boxes for Access and Key generation for OCSP
Click Modify role to save the changes
Open a browser and access your Admin Web Portal on your CA instance
Click System Functions >> Services
In the Add Service field, enter OCSP Key Binding Updater
Click Add
In the List of Service list, select OCSP Key Binding Updater and click Edit Service
In the Select Worker list, select Remote Internal Key Binding Updater
In the Process key bindings where certificate is issued by list, select SubCA
Check the box to Enable the Renew key pair option
In the Time before certificate expires field, enter 12
In the Time unit of certificate expiry drop-down list select hours
In the Period field, enter 1 and select hours from the list
To enable the service place a checkmark in the box labeled Active
Click Save
? Question and Answers ?